How to Set Up Your First Air Compressor System
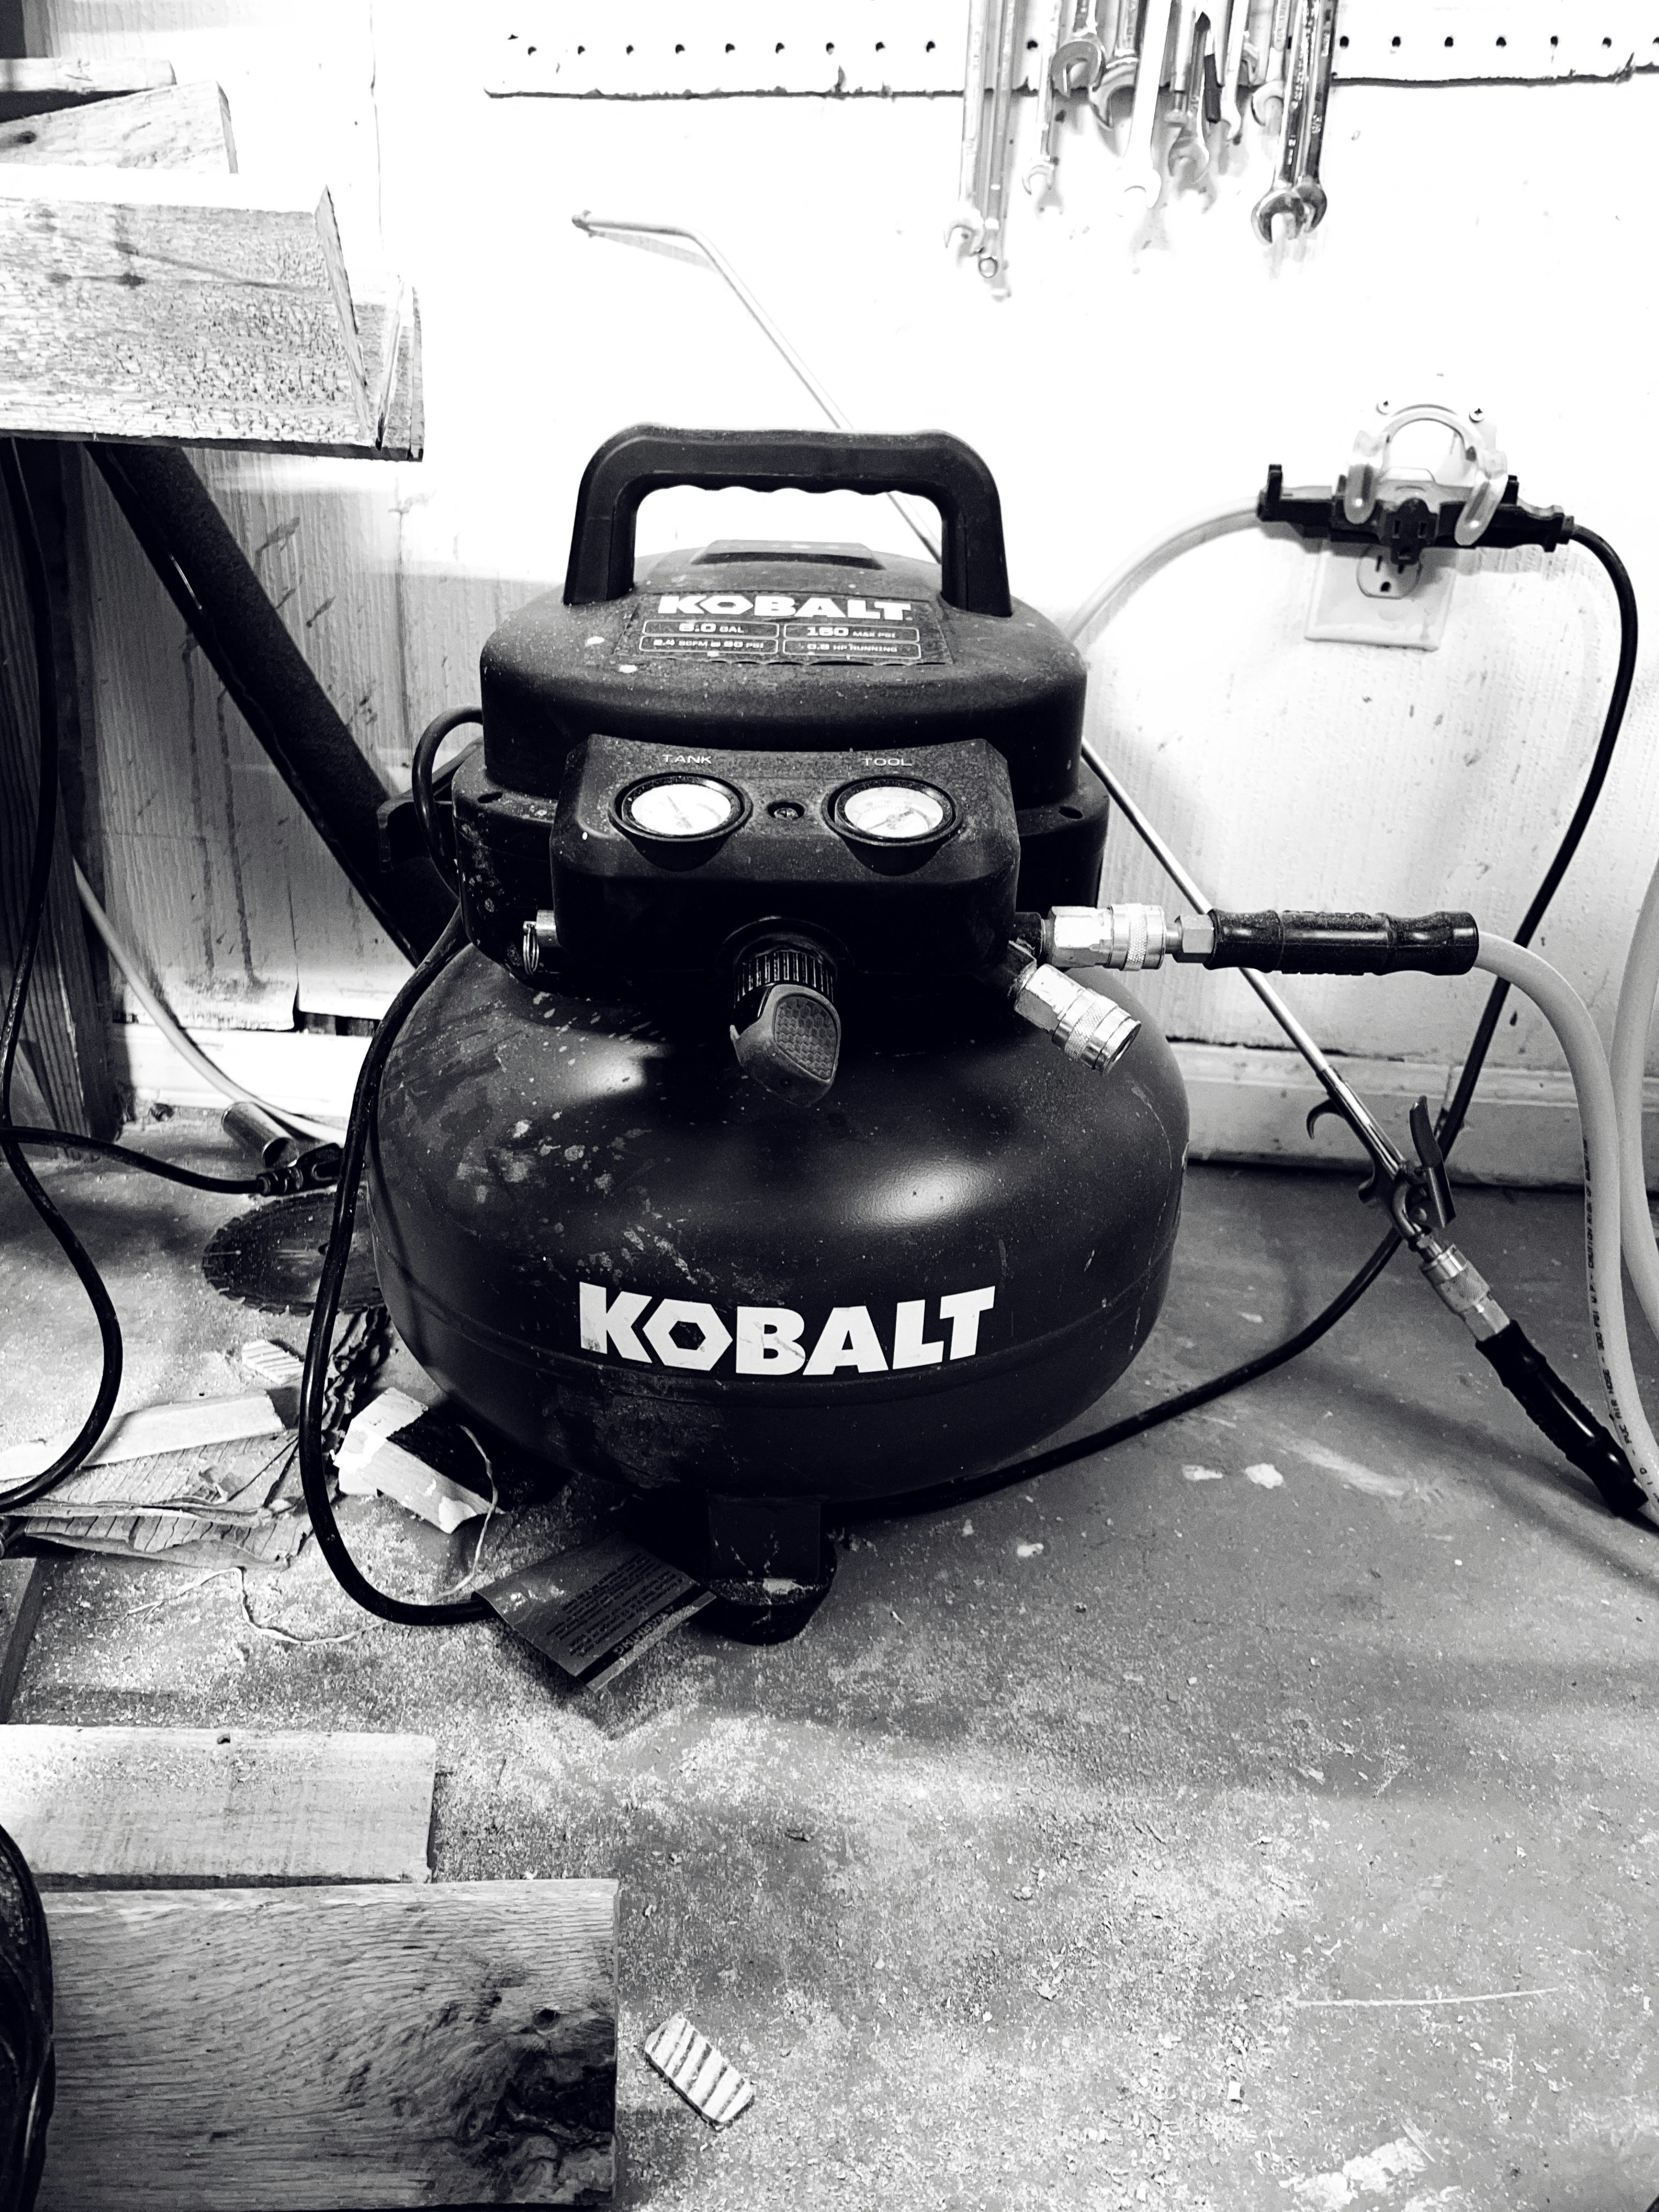
Buying an air drill is the easy part. Providing it with clean, dry, regulated air is where the real work begins. A poorly designed air system will starve your tools of power, fill them with water, and drive you crazy with noise and leaks.
In this comprehensive guide, we will walk you through designing a shop air system from scratch—whether for a 1-car garage or a professional fabrication shop.
Step 1: Sizing Your Compressor
Ignore horsepower (HP) ratings; they are often marketing fluff. Focus on two numbers: CFM (Cubic Feet per Minute) and Tank Size.
The 50% Rule
Look at the CFM requirement of your hungriest tool (usually a sander or grinder, which uses 10-15 CFM). Your compressor should be able to produce 50% more than that to prevent it from running continuously.
- Air Drill req: 4-6 CFM @ 90 PSI
- Target Compressor: 6-9 CFM @ 90 PSI
- Minimum Tank: 20 Gallons (60+ Gallons for pros)
Our Recommendation: See our accessories guide for compressor pairing tips.
Step 2: Piping the Shop
Never run your shop purely on rubber hoses dragged across the floor. Hard piping creates a "header" of air that acts as extra storage and cools the air, helping moisture drop out.
Material Options
✅ Copper / Aluminum
Professional choice. Smooth inner walls, cools air fast, won't rust. expensive but permanent.
✅ Compressed Air PEX
Easy DIY install (push-to-connect). Flexible. Must use "Air" rated PEX-AL-PEX, not water plumbing PEX.
❌ PVC Pipe
NEVER USE PVC. It becomes brittle and can explode like a shrapnel bomb under air pressure.
⚠️ Black Iron
Strong, but heavy and prone to internal rust which ruins tools. Hard to install.
Step 3: Managing Moisture
Compressing air squeezes water out of it. A 5HP compressor can produce gallons of water a day in humid weather.
- Aftercooler: A radiator between the pump and tank. Cools air so water condenses IN the tank, not in your lines.
- Tank Drain: Install an automatic tank drain valve.
- Piping Slope: Slope your main line slightly away from the compressor, with drain legs at low points.
- Filters: Install a water separator/filter at the usage point.
Step 4: The Usage Point (FRL)
Where you plug in your tool, you need a Filter-Regulator-Lubricator (FRL) unit.
- Filter: Traps rust scale and remaining water.
- Regulator: Steps pressure down from tank pressure (150 PSI) to tool pressure (90 PSI).
- Lubricator: (Optional but recommended for drills) Injects oil mist. Note: Do not use a lubricator on lines used for spray painting!
Step 5: Couplers and Hoses
Standardize your shop. The "Industrial" (Type M) fitting is common, but "High Flow" (Type V) fittings are far superior for air drills and impact wrenches.
FAQ: Setup
110V or 220V Compressor?
If you have access to 220V, use it. 220V motors are more efficient, run cooler, and start easier in cold weather.
Do I need an air dryer?
For drilling and mechanical work, a passive water separator is usually enough. If you plan to paint or plasma cut, you need an active refrigerated air dryer.
What diameter pipe for the main loop?
Use 3/4" or 1" pipe for the main loop to act as an air reservoir. Reduce to 1/2" or 3/8" only at the final drop to the hose.
Where should I put the compressor?
As far away as possible! Compressors are loud. A dedicated shed or closet with good ventilation is ideal to reduce noise fatigue.
How often to drain the tank?
Daily. No exceptions. A rusted tank is a bomb waiting to go off.